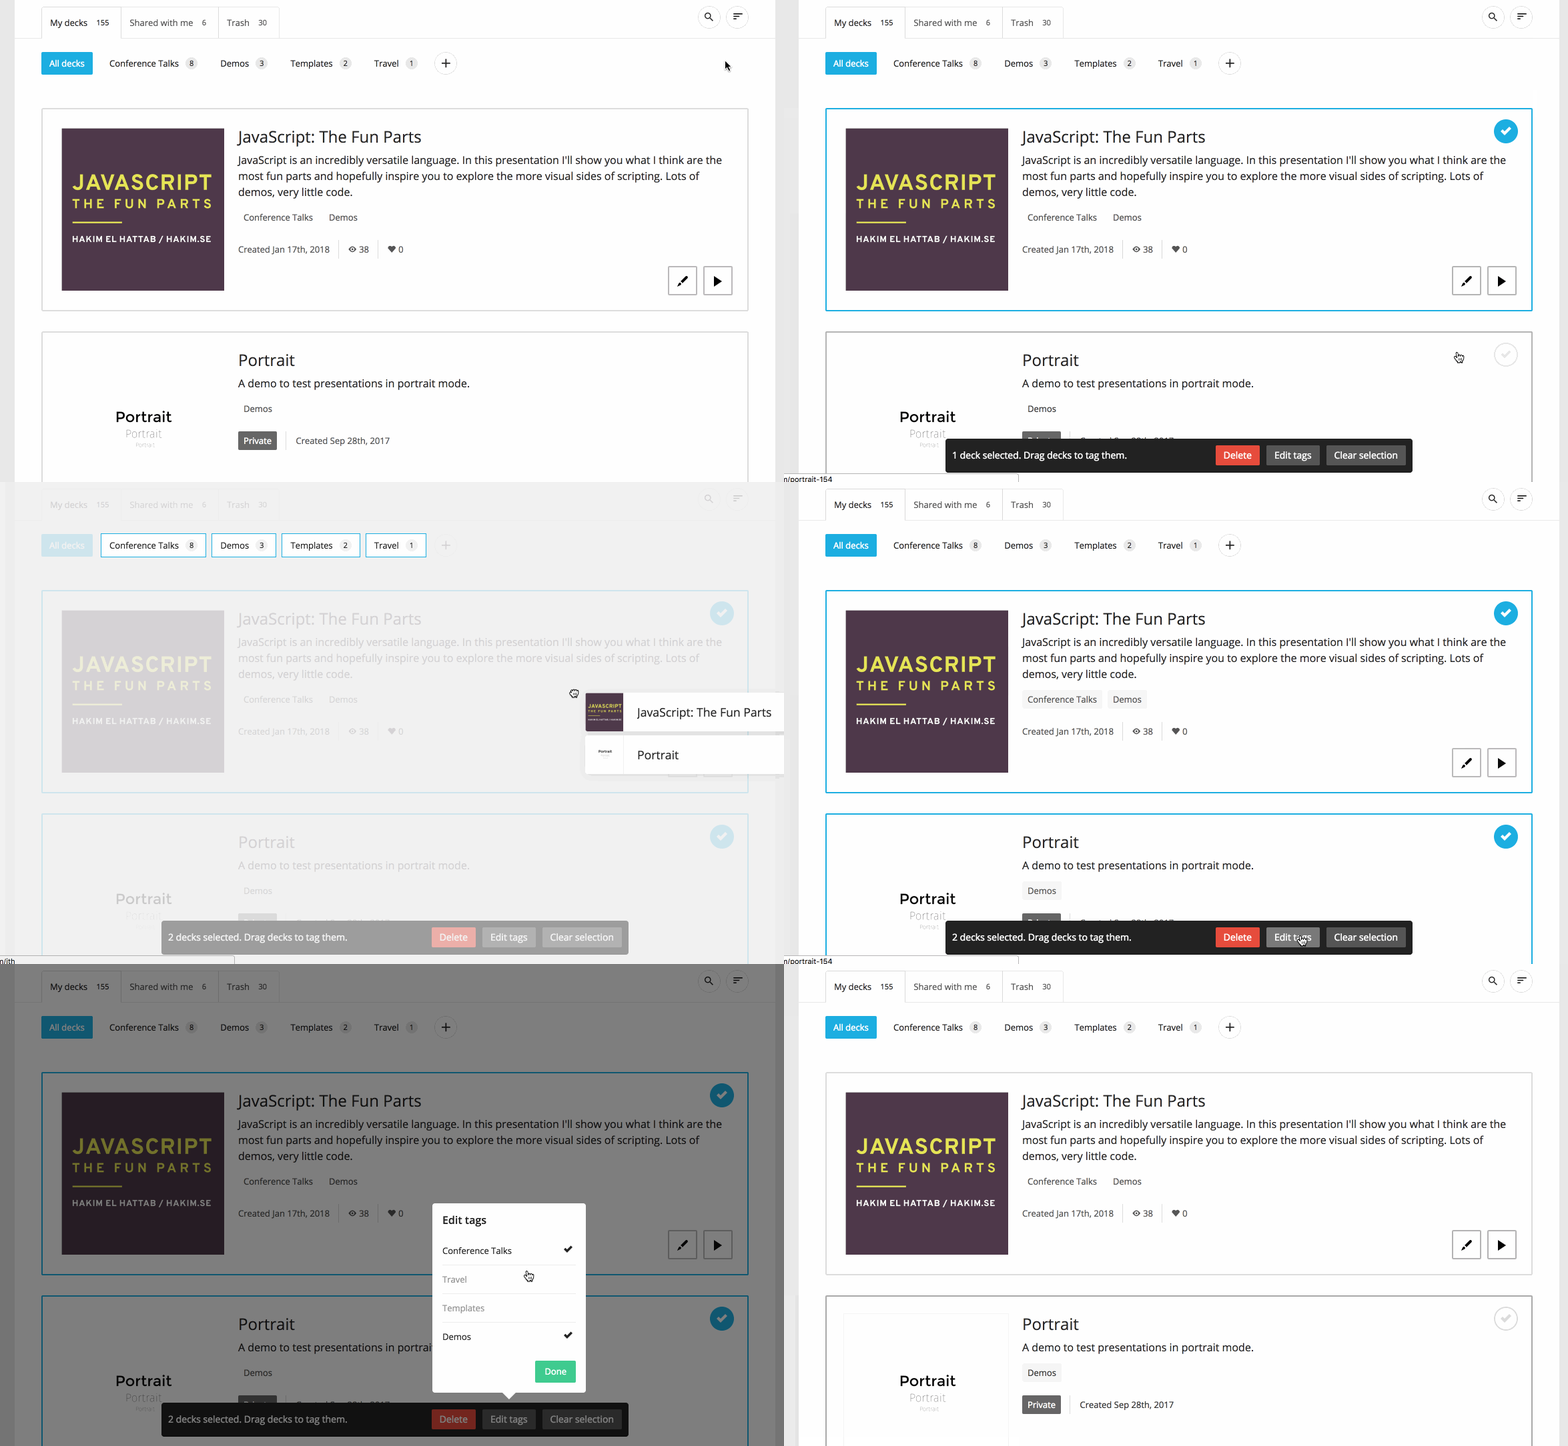
Organizing Decks (Tags)

Public tags
If you tag a public deck, the corresponding tag will appear on your public profile page. Empty tags and tags that contain exclusively private content are only visible to you (the signed in account owner).
Creating and editing tags
To create your first tag, go to your profile page and click the "Create tag" button. Once you have at least one tag you can create more by pressing the plus icon at the end of the tag list.
Hover over any existing tag and click the small cogwheel icon to edit or delete.

Setting a default tag
You can specify which tag that should be selected by default when the profile page loads. This is a great way to hide clutter from the initial view. If no default tag is specified we show all decks.

Tagging decks
To tag a deck simply drag it onto the desired tag. Each deck contains a list of all tags that are applied to it, right below the presentation title and description. You can click on any tag in this list to untag.

Tagging multiple decks
You can click the checkbox in the top right corner of a deck to start multi-selection. Shift/CMD + clicking works too.
A selection toolbar will appear along the bottom of the screen once one or more decks are selected. This includes an "Edit tags" option for adding or removing tags from the selected decks.

